The rear legs are angled out from where they meet the apron to floor and to the chair back. So far in the small number of cuts I've made I have not yet cut any piece other than in a straight line and I am finding that cutting the inside angles is a challenge. My original plan was to rough out the shape on the bandsaw and then clean them up using a plywood template and the router.
I made a router table based on an article I saw at Fine Woodworking's website which is nothing more than a 3/4" piece of ply with my router mounted to it and clamped to the end of my bench. FWW's plan also has a shop made fence, but for this I didn't feel it was needed.


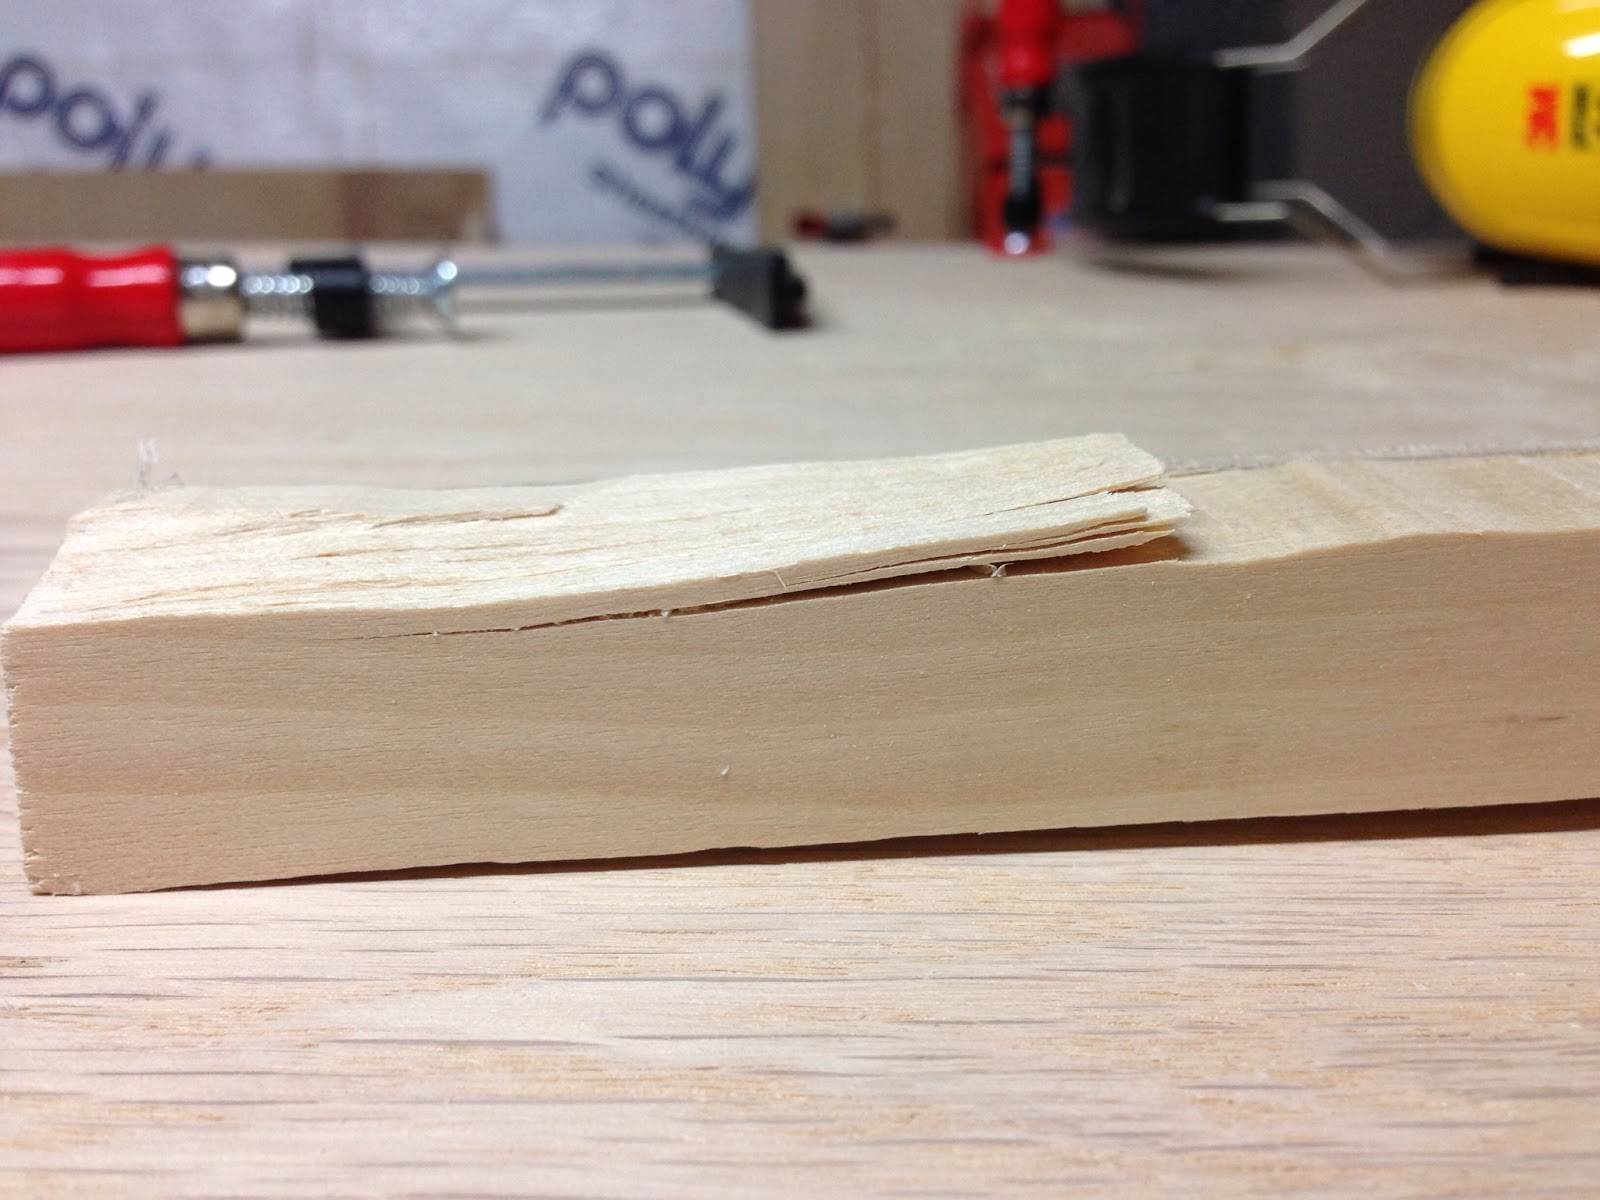
After two templates and severe tear out on my poor man's router table, I stopped and asked for help on google+. Among the responders were highly regarded craftsmen like +Robert Lang (yes, the Popular Woodworking Robert Lang), +Chris Wong, and +Scott Meek. Each had great suggestions and in the end I'll be using advice from each, but more on that later.

A little gun shy on the router table I figured I could get this done with my under utilized hand tools. I had bought a '50s era Stanley #5 off ebay a while back, received a set of Narex chisels from my wife for Christmas and a Lie Neilsen block plane for Christmas from my mom. I was itching to use them all but hadn't needed to until now.
First off I spent a night, maybe two, flattening and sharpening the chisels. I understand most people dislike this task but I found it interesting, at least for my first time. I pared the hell out of some scrap and felt pretty good about how I might use the chisels on the inside angles.
Next I spent two or three more nights restoring the #5 based on Christopher Schwarz's instructions in his hand plane tuning DVD. I'm not the type to write a lengthy, detailed review, but let me say this - I had not used a hand plane before watching this DVD, but when I was done I was making beautiful shavings with a tool that is over 50 years old. I new I liked watching Christopher based on what is available on youtube, PopWood and his own Lost Art Press (he's a fantastic writer too), but I am now a worshiper at the Temple Schwarz after watching this DVD. I'll be picking up his others for sure.


With my hand tool confidence brimming I put metal to wood and proceeded to produce the ugliest chair legs ever seen. Too ugly for pics even. Those inside angles again eluded me. You can get only so close with a bench or block plane and then my chisel work, well, lets just say I put some veins and cellulite on what could have been sexy legs. In the end I got some good practice in, but I had to go back to the drawing board.
A little embarrassed, I couldn't go back to google+ and ask for more help. This time I posted my saga on the Wood Talk forums. It is here that I received some of the best instruction for these cuts from well known forum contributor, Particle Board. Please follow the link above for his instructions in all its glorious detail, but I'll summarize here.
- Make an accurate template from hard board. Hard board is easier to work with and in turn easy to make an accurate template.
- Use the hardboard template to make an accurate, half inch plywood template.
- Use the half inch plywood template on the hardwood along with bottom and top bearing flush trim bits. Trim as much as you can in one direction before the grain moves in the other direction, then flip the piece, change to the other bit, and trim the rest with the template on the bottom.


This time when buying stock I picked a couple of boards paying more attention to grain direction. I think I've got some with tight grain that bends the same way as the legs. I won't get eight perfectly grained legs, but I'll be close.
I've just about come full circle on the method of cutting these legs, but in the process I have restored an old hand plane, learned to sharped chisels and plane blades, added some wood blocks to my vise, made a bench hook and a sanding table for my drill press sanding drums. That's a lot of stuff I'll put to use in the future as well and while I am not happy with the progress on the chairs, my shop has received some nice upgrades.
I'm hoping my next post will be about how well the legs came out and my strategy for assembly (yet to be fully developed). Keep you finger crossed.
Thanks for reading!
Jim
PS - I've mentioned it before but it bears repeating. The community of woodworkers online is just awesome. For someone like me who works out my garage (when cars aren't in it) to be able to connect with well know craftsmen who are willing to help is, well, inspiring.
No comments:
Post a Comment