
Wednesday, December 31, 2014
Making a king sized headboard - final
When I was purchasing the wood for this project over the summer the couple I visited asked me what I would be making as we started chatting about woodworking as a hobby. I mentioned fiddling with projects in my basement at night for a few hours a week and quipped that the headboard would probably be done around Christmas. It was placed in our bedroom on Dec 29th.
Sunday, November 30, 2014
Making a king sized headboard - Part 5
With the frame and trim complete there are only a couple steps left. Namely, create the panel and apply finish. This may be over simplified. The panel includes a plywood back, furniture foam and vinyl. I'm thinking the panel assembly with be similar recovering a padded seat, which I've done. The finish will consist of stain and some form of a sealer, which I haven't settled on yet.
We hadn't yet decided on a color for the vinyl so I opted to do the stain. I went with Minwax's Red Oak hoping it matched the bedroom furniture. I chose the liquid version over the gel. I've found that the gel doesn't penetrate as well and is more of a mess than it is worth, especially if it is left to dry for too long while hoping time helps it seep in to the wood. Wiping on the liquid is quick and predictable.

We hadn't yet decided on a color for the vinyl so I opted to do the stain. I went with Minwax's Red Oak hoping it matched the bedroom furniture. I chose the liquid version over the gel. I've found that the gel doesn't penetrate as well and is more of a mess than it is worth, especially if it is left to dry for too long while hoping time helps it seep in to the wood. Wiping on the liquid is quick and predictable.
Monday, November 24, 2014
Making a king sized headboard - Part 4
With the frame of the headboard assembled it was time to embellish and add the components that will tie the design to rest of the furniture in our bedroom. The original bedroom set included the headboard, two bureaus a mirror and night stand. The remaining pieces all have a similar profile at their top that includes a cap and angled molding. The angle is different on each piece but they all have the same structure.
The cap was easy, just a straight board ripped to length and width. The hardest part was dialing in the length and width, which had to over hang the molding equally on the front and sides by an eye pleasing and similar-to-the-existing-furniture amount. About half an inch, maybe a bit less.
I marked out the molding's profile on the end of a board and colored in the area to be kept.
Tuesday, November 11, 2014
Making a king sized head board - Part 3
I hadn't realized just how long it has been since I last updated the blog. To my loyal followers (both of you), I apologize. Progress has been slow but steady, and I found myself dragging my feet on some of the components I was less familiar with, afraid to mess up what I completed so far. The firsts on this project were cutting rabbets using a dado stack, making my own molding and cutting miters in that molding.
All of the joinery for the frame has been completed and much of it was cut by hand. With a few mortises under my belt I am becoming more comfortable with digging them out on the drill press and cleaning them up with chisels. I wussed out on the tenons and cut further away from the lines than I should have. This left lots of cleanup before final fitting.

All of the joinery for the frame has been completed and much of it was cut by hand. With a few mortises under my belt I am becoming more comfortable with digging them out on the drill press and cleaning them up with chisels. I wussed out on the tenons and cut further away from the lines than I should have. This left lots of cleanup before final fitting.
Wednesday, September 24, 2014
Making a king sized head board - Part 2
I like working with rough lumber because I get more of a sense of freedom working with raw materials. I have the luxury of doing so mostly because I have a thickness planer, which doubles as a jointer when using a jig. I did not have that luxury this time around.

Monday, September 15, 2014
Local wood from a local sawyer
The time has come to build some new furniture for the new house. The item at the top of this list is a headboard. When we replaced our queen sized torture device with a king sized "sleep surface" the old head board went to the basement and eventually to craigslist.
The bedroom set is craftsman style made of a feau oak (foak?). Regardless, it looks nice, is damn heavy and we have no intention of replacing it. I'm the only one who notices the long grain where there should be end grain on the tops of the night stands and dressers.
The bedroom set is craftsman style made of a feau oak (foak?). Regardless, it looks nice, is damn heavy and we have no intention of replacing it. I'm the only one who notices the long grain where there should be end grain on the tops of the night stands and dressers.
Thursday, August 28, 2014
Refinishing a storage bench with milk paint
I recently took a detour from my woodworking projects and refinished a storage bench. My wife picked this up not long after we moved in to the house last winter with the hopes that I would repaint it. This honey-do item was bumped to the top of the list a few weeks ago and while not really a wood chip making or joinery cutting type project, it gave me an opportunity to try out milk paint which will most likely be a finish of choice on a future piece.
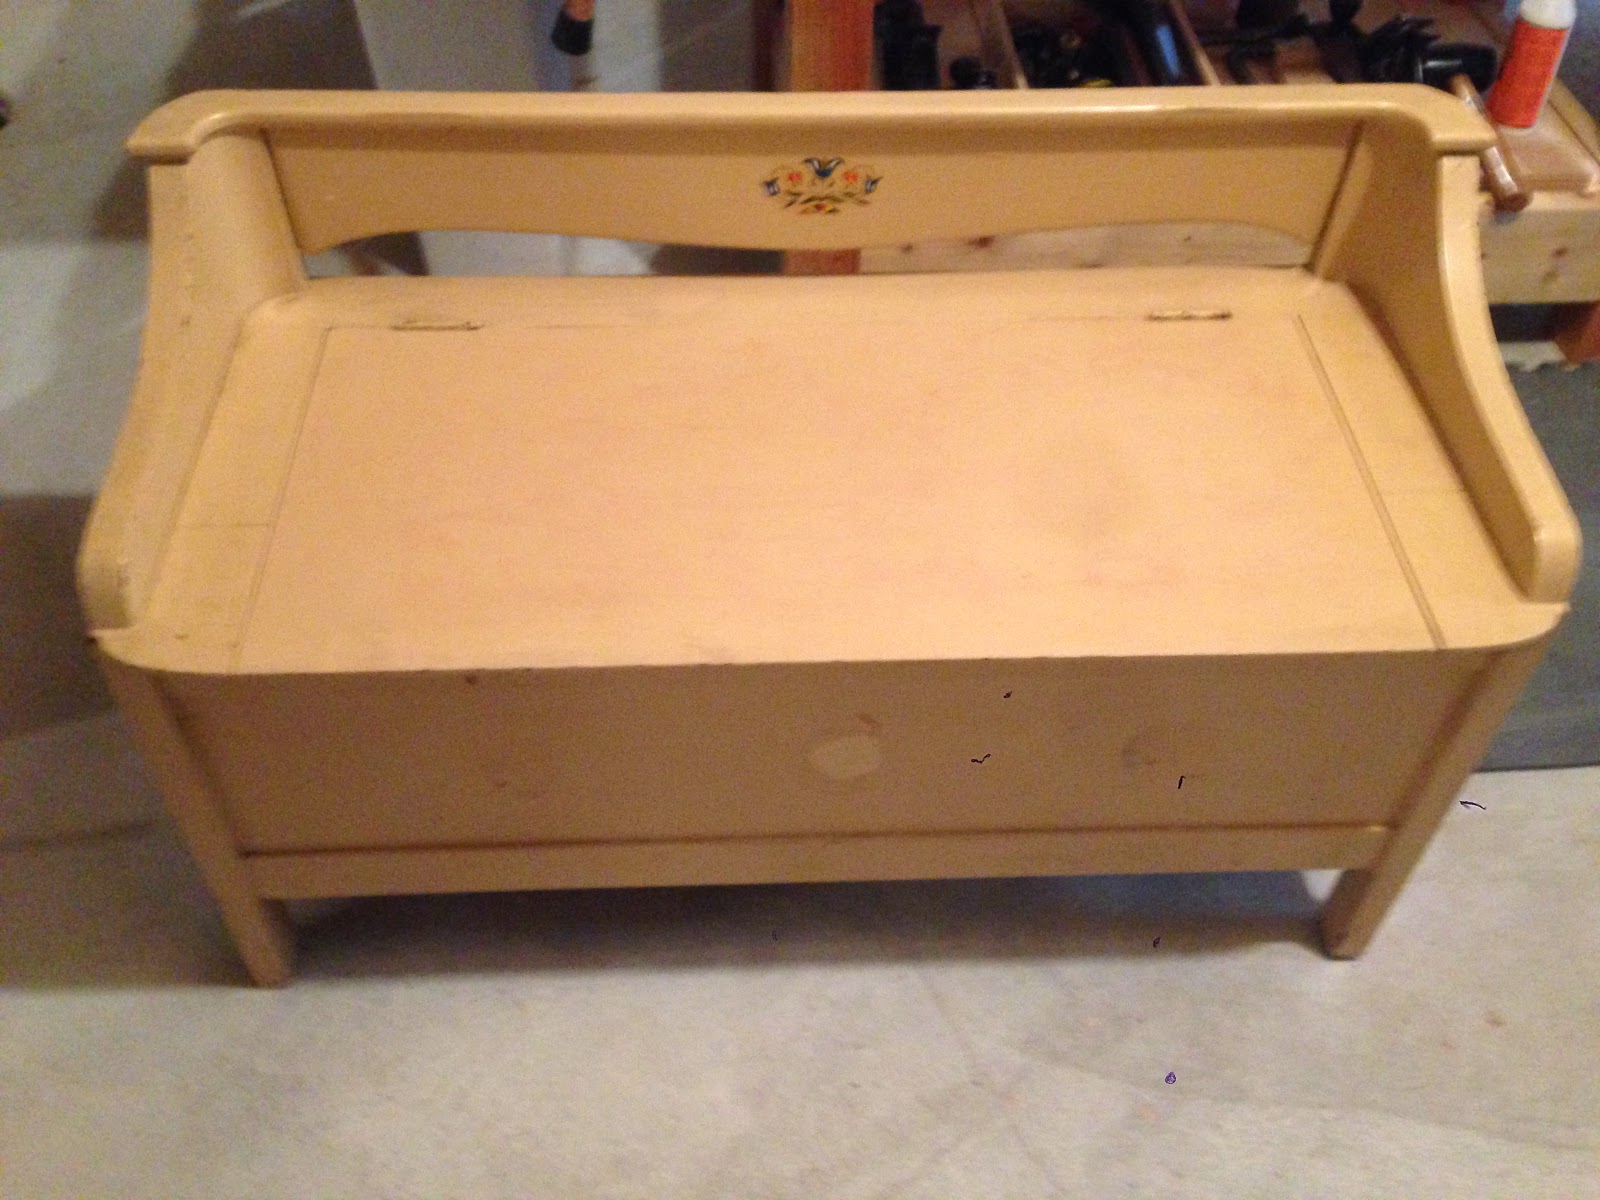 |
| Antique store find |
Sunday, July 13, 2014
The completed bench
Finishing the bench was bitter sweet. In this case the journey was at least as good as the destination. The build offered me some firsts such as mortise and tenons (draw bored no less), flattening by hand, using winding sticks and overall a significant amount of hand tool use. The result is a flat bench top and a stout vise, both of which are major upgrades over my old bench.

Monday, June 16, 2014
All your base...
I put the final drop of glue and a few screws in the base of my bench last night. The completed assembly is rock frickin solid. The joinery consists mostly of mortise and tenons, which attach the stretchers to the legs and the legs to the bench top. I used a few screws to reinforce the bench top attachment, but I don't think they were needed.
All the tenons were cut by hand and the mortises were roughed out at the drill press or by cordless drill and squared up with chisels. I won't get in to the construction details that have been blogged about by a myriad of other woodworkers, instead I'll let a few pictures do the talking.

All the tenons were cut by hand and the mortises were roughed out at the drill press or by cordless drill and squared up with chisels. I won't get in to the construction details that have been blogged about by a myriad of other woodworkers, instead I'll let a few pictures do the talking.
Saturday, May 10, 2014
Bench top bottom
Just a quick update on the progress of my upgraded bench top. Based on the advise of +Shannon Rogers I stopped planing the edges of the tewbafores and just face glued them all together. Planing them as a single piece certainly makes more sense. Thanks again, Shannon.

Wednesday, April 30, 2014
So many moving parts
You know that game where you have to re-arrange tiles to complete a picture and there's only one open space to maneuver? That's what the process of putting a shop together in my basement feels like.

Tuesday, March 4, 2014
The shop begins to take form
So we've been in the new house for a little over two months now. In that time I've painted two rooms, hung curtains, replaced a light fixture, done a little weather proofing and dispersed a couple feet of snow. Getting to the basement and setting up shop always lost the battle of priority until this past Saturday when I finally had some time to make a little progress down there.
On moving day the basement became the catch-all for anything we couldn't quickly find a home for. We were paying movers by the hour and all I really wanted was our stuff off their truck before they started to get tired and slow down. This was the result.

On moving day the basement became the catch-all for anything we couldn't quickly find a home for. We were paying movers by the hour and all I really wanted was our stuff off their truck before they started to get tired and slow down. This was the result.
Saturday, January 4, 2014
Moving slowly
It's been over a month since my last update. My apologies to the small, yet faithful, group of readers of this blog. I'm sure your lives have gone unfulfilled and for that I am truly sorry. Huh.
I am writing, sitting at our desk in our new house. We moved in ten days before Christmas and by Christmas Eve my wife had the house looking liked we've lived here for years. We had her family over that night and had a great time, without a box in sight.
I am writing, sitting at our desk in our new house. We moved in ten days before Christmas and by Christmas Eve my wife had the house looking liked we've lived here for years. We had her family over that night and had a great time, without a box in sight.
Subscribe to:
Comments (Atom)