
I still haven't done much to define the space in the basement as my shop. The wall that cuts the basement in half doesn't yet exist. The ceiling is still exposed joists and insulation. I knew running the planer would be loud but I didn't know just how loud it would be upstairs without much sound dampening.
I decided to just give it a go one night and asked my wife to let me know if the noise was too much. I made one pass on one side of one board before she was flicking the lights to get my attention. That was the end of electricity powered planing.
Thankfully, the boards I bought were exceptionally flat, so all that the muscle powered planer had to do was smooth out the rough sawn texture. It took me the better part of a week doing it this way while planing for about an hour each night. I probably would have been done in a single hour using the power planer.

 | |
| The meat powered planers. Note the use of the support post as a plane stop. +1 for the basement workshop. |
I planed nearly every inch of my work bench and have now worked both sides of six, eight inch wide and six foot long boards. I'm starting to develop a comfort level and familiarity with the tool as well as confidence to prepare boards by hand. I've also been sharpening free hand and am starting to feel guilty about owning an expensive sharpening jig.
Once properly surfaced I ripped the boards to three inch widths at the table saw (not quiet as loud) and glued up two posts and two rails. I cleaned up and squared the edges, again with hand planes, and then cut all four pieces to length.
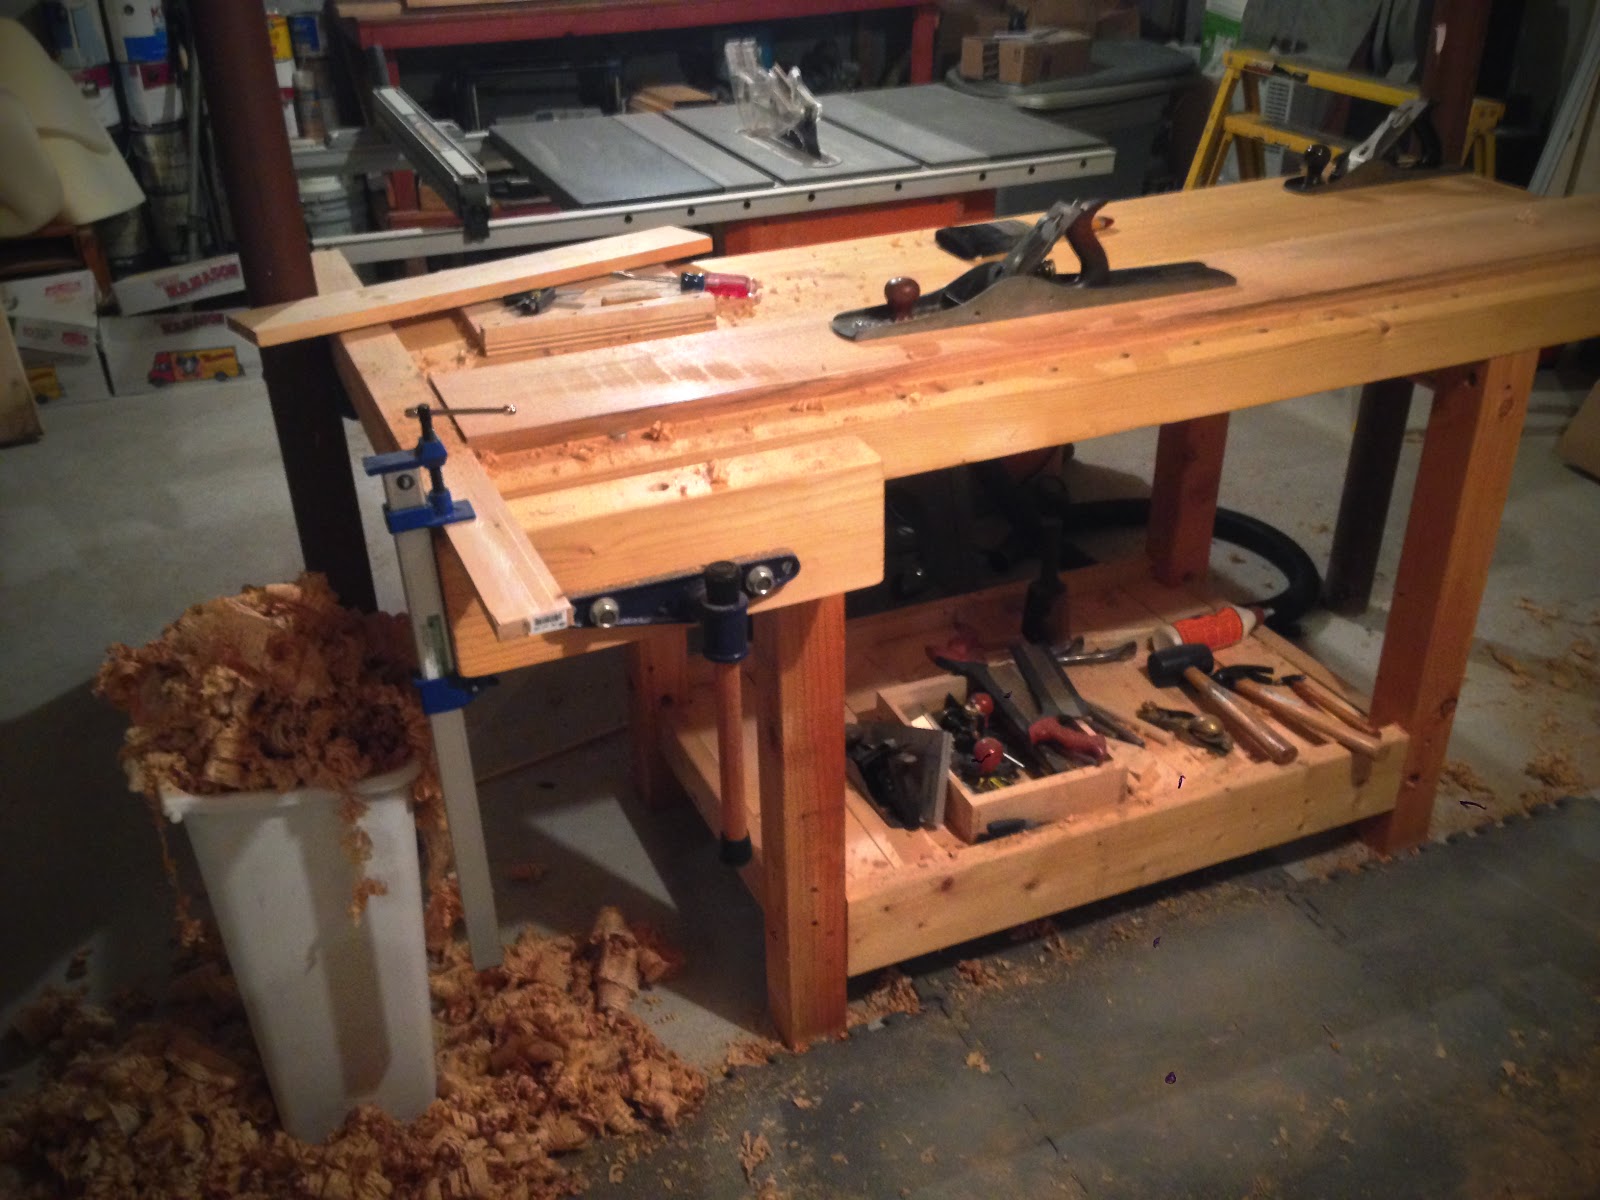
 |
| Putting the new bench to use |
With the posts and rails at final dimensions I next marked out the joinery. Here's a few pics of the mortise and tenon layouts. I took this slow and methodical. No need to rush this part.


 |
| I like to mark the center of the mortise so I have a landing spot for the point of a forstner bit. |

 |
| I've seen this method of chiseling a groove at the shoulder line performed by a few accomplished woodworkers. They seem to know what they're doing, so I followed suit. |
This is where the project currently stands. I had thought I would start cutting the joints by boring out the mortises at the drill press tonight, but I feel as though I need to be more alert. I'll get a full night's sleep and then get back to it tomorrow. I'm not in the mood to lace together a string of profanities and have to start all over again.
Thanks for reading.
Jim
See Part 1 of the headboard build here.
No comments:
Post a Comment